
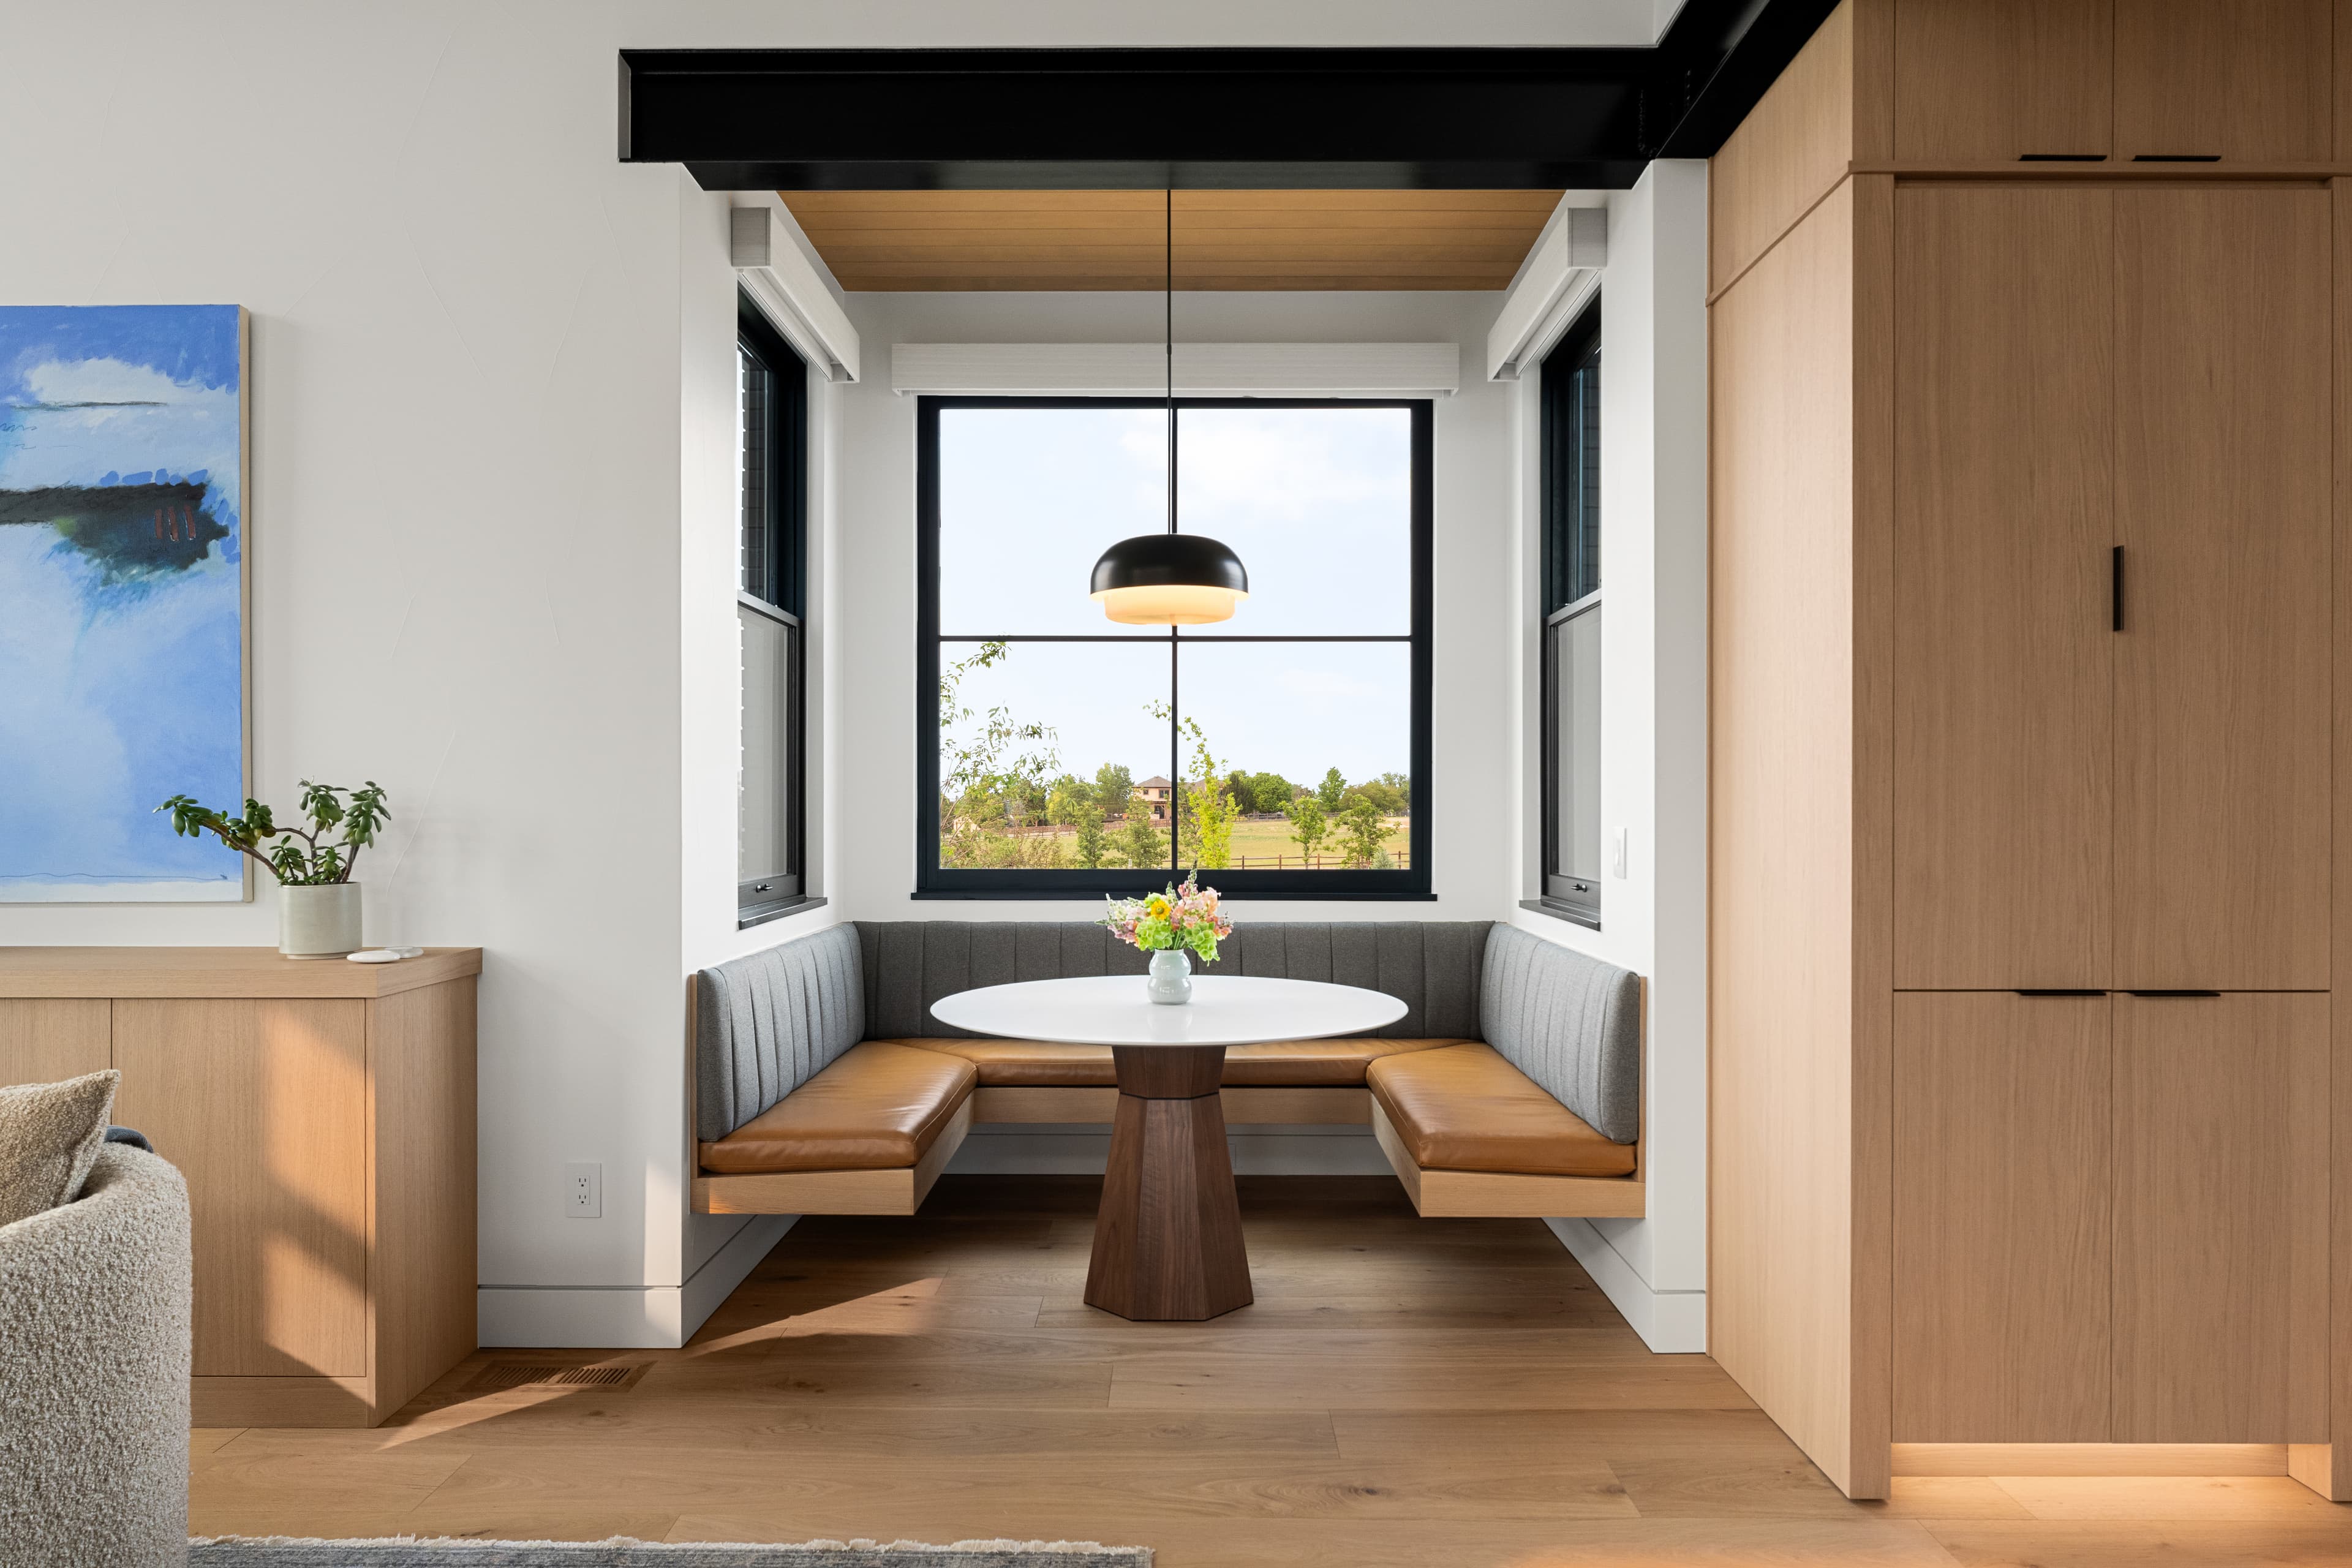
Light First: When — and Why — to Shoot Real Estate Photos and Video
Light is the single most important ingredient in real-estate photography and videography. It shapes mood, defines texture, reveals volume and depth, and guides the viewer’s eye through a space. Understanding how light changes with time of day, weather, orientation and season lets you pick windows that flatter each room and produce consistent, professional results.
The key qualities of good light
• Direction: side light sculpts surfaces; backlight can create atmosphere and rim light; front light flattens. Use these qualities intentionally.
• Intensity: too strong and you get blown highlights and deep shadows; too weak and details vanish into noise or flatness.
• Color temperature: daylight shifts from warm (sunrise/sunset) to cool (midday/cloudy). Mixed sources (windows + bulbs) create color conflicts unless managed.
• Quality (hard vs. soft): hard light casts sharp shadows; soft, diffuse light wraps around surfaces and is often preferred for interiors.
The best times to shoot — practical windows
• Golden hour: roughly the first hour after sunrise and the last hour before sunset. Light is warm, directional and soft; excellent for exterior facades, landscaping, and warm interior moods when you want long, cinematic shadows.
• Blue hour (twilight): starts about 10–40 minutes before sunrise and after sunset, when the sky develops deep blue tones and exterior lights are visible. Ideal for twilight exteriors where interior lights are turned on to create an inviting image.
• Midday (late morning–early afternoon): when the sun is higher. Not ideal for interiors with direct sun because of harsh highlights, but useful for evenly lit exteriors, pools, and roof/top-floor views. On overcast days, midday becomes excellent for interiors because the cloud cover creates soft, even light.
• Overcast/diffuse days: clouds act like a giant softbox. They reduce contrast and minimize blown highlights—great for facades and interiors where balanced exposure is needed.
Note: these are approximate. Duration and quality depend on latitude, season and weather. Golden hour is longer near the poles in summer and much shorter near the equator.
Match time to room orientation and purpose
• East-facing rooms: best in the morning. If photography highlights morning light (kitchens, breakfast nooks), schedule early.
• West-facing rooms: best in the afternoon and into golden hour—good for living rooms and terraces that benefit from evening warmth.
• South-facing (in the Northern Hemisphere): receive strong light for most of the day—watch for harsh midday sun. North-facing rooms tend to have consistent, soft light throughout the day and are the easiest to photograph.
• Balconies, patios and pools: choose golden hour or blue hour for dramatic color and attractive reflections.
Interior strategy: controlling mixed light
• Aim for consistent color temperature: either prefer natural daylight (turn off warm lamps) or intentionally use warm lamps to complement twilight shots. Mixed temperatures are difficult to correct in-camera and in post.
• Turn on lamps selectively: during twilight/exterior shots, turn interior lamps on to suggest warmth and habitation. For bright-day interior shoots, consider turning off small decorative lamps that introduce color casts.
• Close or diffuse direct sun when it creates harsh highlights: sheer curtains, blinds or light diffusion can create a softer, more flattering quality.
• Clean windows and reflective surfaces: nothing undermines beautiful window light like fingerprints or haze.
Video considerations (continuity and motion)
• 180-degree shutter rule: set shutter speed roughly double your frame rate (e.g., 1/50 for 24fps) to maintain natural motion blur.
• Maintain consistent exposure across cuts: changing light between two shots can be jarring. Sequence your shoot to capture all shots with similar light, or use controlled artificial light to hold exposure.
• Use ND filters for wide apertures in bright conditions so you can keep shallow depth of field without overexposure.
• Mind white balance: auto WB can shift between shots. Set a manual white balance or record in a log/profile and correct in post.
• Gimbals and smooth camera moves benefit from even lighting—avoid shooting across a time when the sun will move dramatically (e.g., into/away from frame mid-take).
Exposure strategy and technical tips for photos
• Shoot RAW to retain maximum latitude for highlights and shadows.
• Bracket exposures for interiors with bright windows and dark interiors; exposure blending or HDR can recover detail without looking flat if handled carefully.
• Use a tripod for interior stills to keep ISO low and details crisp.
• Keep ISO as low as practical; raise aperture for depth when needed, but balance against diffraction and available light.
Scheduling and planning workflow
1. Check sunrise/sunset and local weather the day before the shoot.
2. Decide the primary objective for each property (twilight exterior, bright airy interior, cinematic video walkthrough) and schedule the critical shots during appropriate light windows.
3. Coordinate with the seller/agent on staging: lamps, window coverings, and exterior lighting should be set for the chosen time.
4. Build flexibility into the day for weather-related changes—overcast can be preferable to harsh sun for many interiors.
Quick checklist for on-site light control
• Verify window direction for each principal room.
• Clean windows and reflective surfaces.
• Turn off or replace bulbs so color temperatures match (when practical).
• Bring ND filters for video, a tripod for stills and a small LED panel for fill when necessary.
• Take test exposures and a color-reference frame (gray card) if you plan to correct color in post.
Creative ideas using light
• Use backlight through a sheer curtain to create soft portraits and emphasize translucency.
• Shoot rim-lit details (textured walls, furniture edges) during side light to add depth.
• Capture twilight with interior lights on to present a home that feels warm and lived-in—this often performs well in marketing imagery.
Final thought
Light is not an afterthought; it’s the design language of imagery. When you plan shoots around the predictable patterns of natural light, control mixed sources, and pick windows that match the style you want to convey, your photos and videos will feel more intentional, cinematic and true to the property.
Schedule with light in mind, prepare the space to make the most of it, and you’ll find each property tells its story with greater clarity and emotional resonance.